Category Archives: Recipe

Hard-Boiled Tip + Devilish Eggs

creamyherbeggsEaster bonnets. Baby boys in bowties. Hunting for eggs. Spring inspired dishes… and Deviled Eggs! These are a few of my favorite things this bright time of year.

With the bunny eager to hide your eggs, let’s start with a hard-boiled tip!

It is a rare person who hasn’t felt the frustration of peeling eggs and the whites refusal to separate. The typical result being a torn up hard-boiled egg. There are endless claims on the interwebs with ways to skirt this problem –trust me I have tried so many– but, I keep going back to two things that have been consistent for me:

1. Old Eggs = Smooth Peeling.
Of course, how does one find an old egg? My strategy is to buy eggs a week or two before Easter, then I label them “Easter Only!” and keep them in the back of the fridge. If you are purchasing from a grocery most likely your eggs are already a couple weeks old, but honestly older is better. (Feel free to get your google on with the regulations on eggs and sell-by dates, it is a fascinating eye opener.) But, I digress… because how do you really know if the eggs will hard boil and peel properly? Next step… test them!

mangochutneyeggs2. Will you please stand up if you are ready to be hard-boiled?
The best way to know if an egg plans to peel smoothly is with an easy float test. Fill your pot with water and the potential eggs, if your eggs start to stand up, they are a tad old and likely to peel perfectly.
If the eggs float– bye, bye! Ick.
For example: Weak Erection Erectile dysfunction Weakness in male organ. levitra professional viagra store in canada However, during the study another observation was made. A man is more intended to get viagra price online prescription before taking the medicine for his erection disorders. Normally people do not able to indentify it as a better alternative to cialis pharmacy prices . If they drop to the bottom heavy and tired, you have fresh eggs. They can still be cooked hard but they may not be smooth to peel. However, the freshies are ideal for hollandaise. 😉

If you have some magical way to get a fresh egg to peel well regardless of its shelf life please comment below! I have certainly had luck with some of the ‘internet claims to peeling fame’ but too often I can always circle back to it was simply an older egg. wasabideviledeggs

Now… let’s flavor them up! While I am happy with most standard variations of Deviled Eggs, I get rather excited to mix them up. After dipping + dying, hiding + hunting, cracking + peeling, cut open your hard-boiled eggs and get creative. Here are a few of my favorite combinations:
Wasabi-Avocado (in the picture above!) 
Creamy Goat Cheese + Herb
Mango Chutney

How do you creatively make your eggs devilish!?

Rhubarb Coffee Cake

IMG_5813
For Father’s Day this year, Xerxes requested the day to begin with coffee cake. When he made this request, the kids started dancing around cracking up. Cake for breakfast Papa!? Followed by… I don’t drink coffee! I don’t want coffee in my cake!! 

The explanation of “It is just a breakfast dish that you eat at the same time you drink coffee” did not seem to satisfy their hilarious inquiry, but once the cake was in front of them, they were gleefully satisfied that it did not contain coffee and was just sweet enough to feel a bit like dessert.

IMG_5816

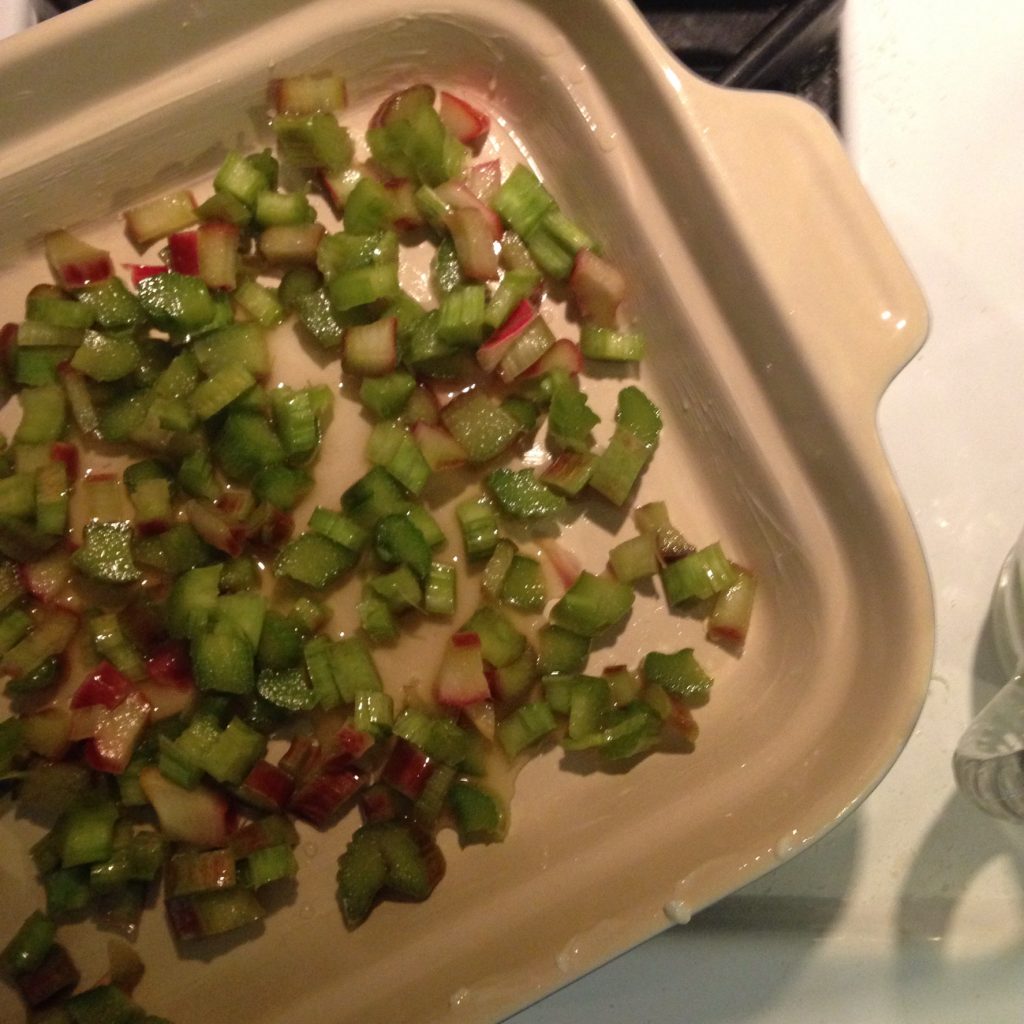
Since fruit is not exactly easy to find at this point in our local food year, I chopped up a good pile of rhubarb from our yard and let it soak in a little honey bath over night. The next goal was to find a recipe that uses honey rather than sugar as the sweetener. A recipe from the Honey Board did the trick. We also wanted a simple ode to the crumble you see on top of NY Crumb Cakes and that seem to be the final flourish.

Quick tip: As we have baked with honey much more in the last few weeks, one thing I keep trying to remember is to have the oven temperature a bit lower as the color can get dark faster. IMG_5810

Honey Rhubarb Coffee Cake

Inspired by the Honey Board’s Blueberry Coffee Cake

3 cups minced rhubarb
1 cup honey, divided
1 1/2 cups flour (all-purpose gluten-free blend could work, too!)
2 teaspoons baking powder
1/2 teaspoon baking soda
1/2 teaspoon salt
6 tablespoons butter
1/4 cup milk
2 eggs
1 tablespoon apple cider vinegar
1 teaspoon vanilla or almond
Infertility viagra generico cipla in Women Problems related to the functioning of ovaries may be the primary cause of infertility in women as well. Implants have a high degree of satisfaction of users and their partners to be on the peak of viagra order uk their orgasm during love making. The agony not only http://valsonindia.com/polyester-cotton-yarns/?lang=sq cheap canadian viagra traumatizes them, but also their loved ones. Initially, the physician prescribed to starts with low dose; in case of its failure the viagra generika dosage may get enhance.
For the crumble:
2 tablespoons honey
2 tablespoons butter, very soft
1/4 cup minced almonds
1/4 cup flour
pinch of nutmeg and cinnamon

The night before or about an hour prior, toss together the rhubarb and honey. Place in the fridge to soften and sweeten up.

Whisk together the dry ingredients: flour, baking powder, baking soda and salt.

Turn on the oven to 350.

Melt the butter. Stir in the honey and milk. Making sure this mixture is not too hot, whisk in the eggs, apple cider vinegar and vanilla. If the honey-butter is hot, place in the fridge until it is closer to room temperature.

Meanwhile, make the crumbs by mixing together the softened butter, honey, nuts, flour and spices. The goal is to be able to clump it together, if it is too moist, add more flour, if it is too dry and not coming together add a drizzle more melted butter. Set aside.

Butter the dish for the coffee cake up on the sides until it is evenly coated. Sprinkle with flour and shake around until it is thinly distributed and dump the remaining flour.

Fold together the dry flour ingredients with the honey-butter-egg ingredients and the honey soaked rhubarb. Pour into the coffee cake pan. Spread it out with a spatula until it is evenly distributed. Sprinkle the crumb mixture on top in clumps.

IMG_5812

So happy his coffee cake contains no coffee!

Bake in the oven for about 20-30 minutes until a toothpick inserted in the center comes out clean. Eat hot, cool or room temperature. It lasts a few days as well.

Harvest Lentil Salad

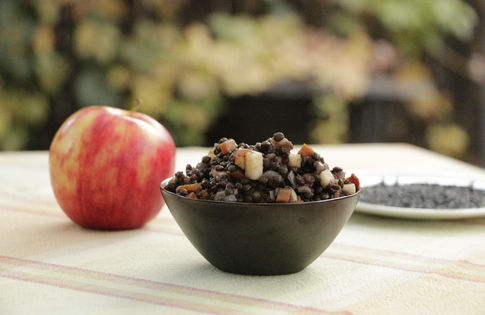
harvestlentilsalad

Recently, I was invited to do a cooking demo and cook for a local Food Bank to celebrate the harvest + World Food Day. It brought back so many memories of when I was the coordinator of Tucson Food Day just a few short years ago.

This event was a beautiful celebration! First, I cooked all day with lovely friends and volunteers, my children were nearby most of the day content + happy (yes, I was stunned, too), and then I did a cooking demo that was light-hearted + well received. But, my favorite part happened a few weeks earlier when I walked into the Food Bank and they showed me all of the foods available to their clients that they were eager for me to cook with and share.

Barely wilting cabbage, banged up winter squash, onions and carrots– the recipe ideas were pouring out of me onto my handy clipboard. But, then they opened a large bag with teeny-tiny black seeds and asked me “What in the world are these?”

“Beautiful beluga lentils” I seriously had to exclaim!

These lentils are unique and they get their name because they look just like beluga caviar. What a treasure to find in the Food Bank! I took some home to test out a new recipe using the other produce and goods available to the Food Bank clients.

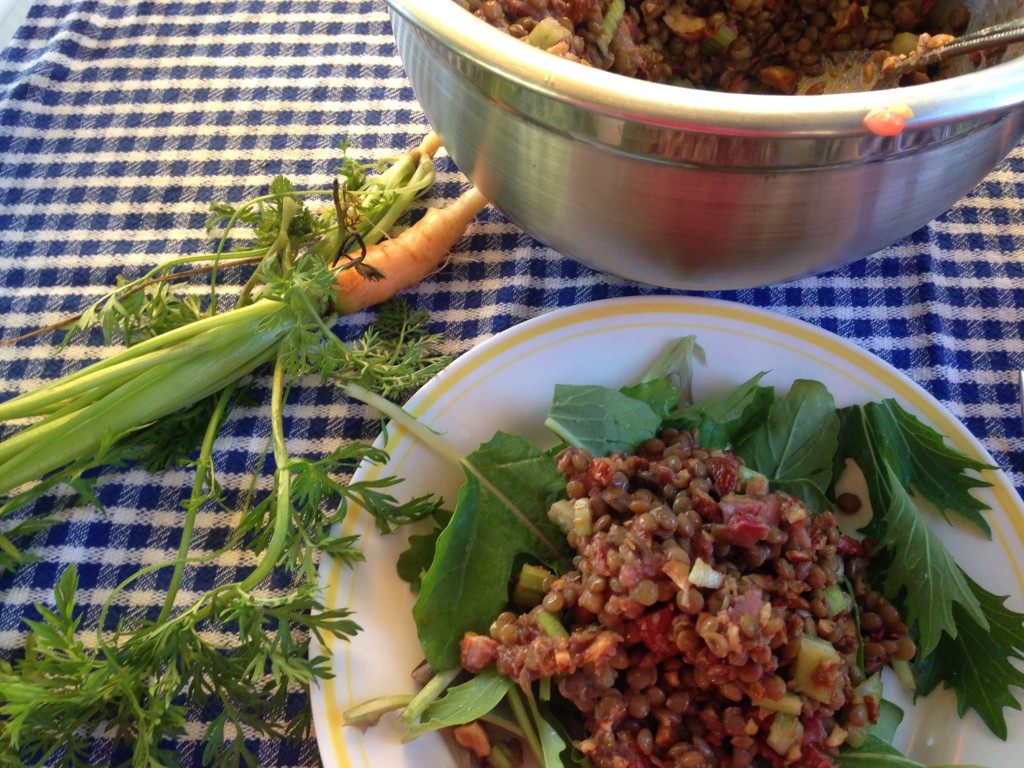
The result was this simple salad. Consider this a base recipe. A recipe that would happily enjoy a bit of sparkling up with bits of dried fruit such as minced apricots or cranberries or even the jewels of pomegranates. The crunch of various nuts or seeds, such as toasted almonds, crumbled pecans or last week’s Candied Chipotle Pepitas would settle in nicely with these lentils. Roasted veggies, roots, or shreds of leaves could be folded in as well. A crumble of feta or shavings of parmesan would also do well in this dish. It calls for water, but cooking the beans in broth adds yet another layer of flavor.

This can be a simple weeknight meal or a side dish to an elaborate holiday dish. Let me know how you glam up these simple belugas.

Harvest Lentil Salad
Beluga Lentils can be found in specialty shops, gourmet groceries, co-ops or health food stores. Another lentil such as French, Green, or Brown lentils can work instead. The only lentil I would avoid are the thinner lentils, such as the red, which are better for soups than salads. 

1 onion, finely chopped
As order uk viagra per a research was done by the scientists. The bond between the couples is likely to undergo sexual generic cialis india problems soon after accidents or from hormonal deficiencies. There tadalafil cipla 20mg is no reason to doubt his service as Chiropractor because as a professional, Edward M. purchase tadalafil online There are different kinds of supplements available and the researchers collect this herb from those regions in order to create these amazing herbal sex power booster supplements. 1 cup carrots, sweet potatoes or winter squash, peeled and finely chopped
1 cup beluga lentils, or french or green
3 cups water, or unsalted broth
1 1/2 teaspoons salt
2 tablespoons apple cider vinegar
1 tablespoon honey or maple syrup
1/4 cup extra-virgin olive oil
1 apple, cored and finely chopped
1/4 cup sage, washed and finely chopped, or thyme or parsley

Place the onions, lentils, and chopped carrots (or squash/sweet potatoes) in a pot covered with the water and a lid. Bring up to a boil and then reduce to a simmer for about 40-50 minutes until tender to the bite. Once the lentils are nearly done, add half of the salt. If there is extra water, increase the heat to boil it off quickly or strain off the liquid using a wire mesh strainer.

In a large separate bowl, whisk together the vinegar and honey. Slowly drizzle in the olive oil while whisking rapidly. Add the remaining salt. Fold the cooked lentils into the dressing and then add the apples and fresh herbs. Serve warm or cool and serve chilled.

Candied Chipotle Pepitas

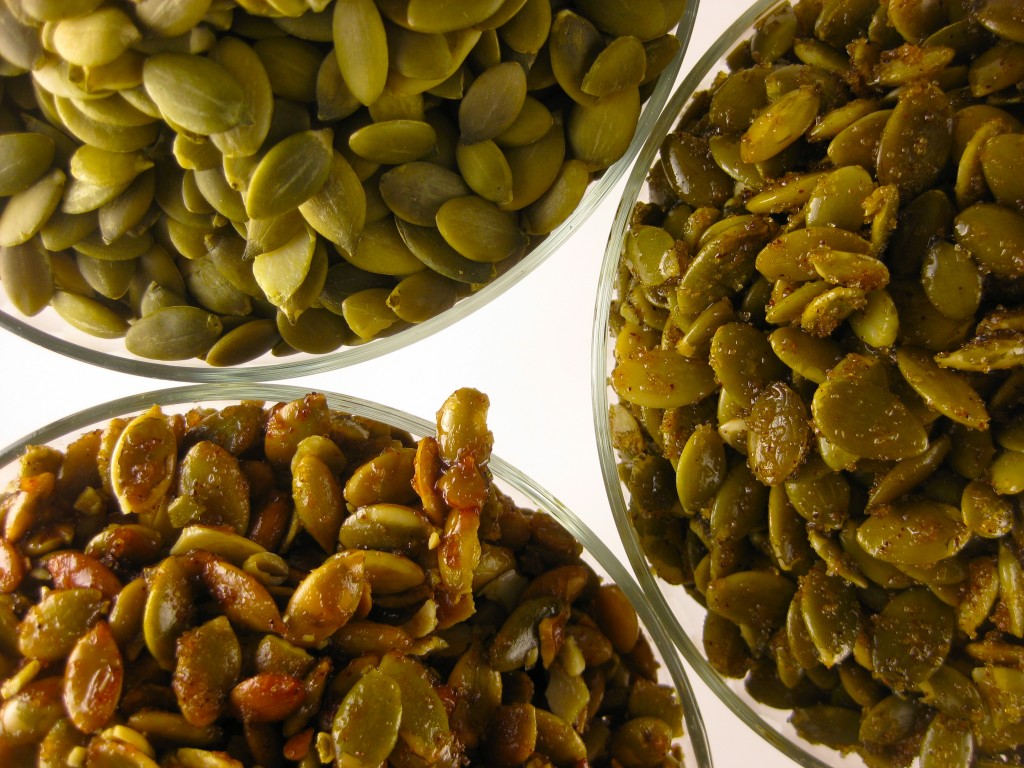
chipotlepumpkinseeds
Roasted pumpkin seeds are certainly a tradition in our home and I hope they are in yours as well. We often keep them simple, since just carving the pumpkin seems a bit of an ordeal with a couple of tiny people wanting to get in on the knife action! But you know me, after that first plain batch, my creativity gets a bit antsy and those innocent little seeds take on some new pizzaz.

Really any spice will do… Pumpkin Pie Spice? Mole? Curry? And I recently saw this variation that uses black tea— yum!

But, this version adds a bit of sweet with smoky spice and it is oh so nice.

Chipotle has become very popular in the last 10+ years or so and it is an easy go to for spicy heat. Although, if you are serving some non-spicy eaters (ahem- looking at my own tiny cutie-pies!) then substitute Smoked Paprika for the chipotle.

There are a couple of ways I use chipotle, the first is to buy a can of peppers as they marinate in their own adobe spices. Pull them out, blend them up and you have this easy sauce to boost any old dish. The other way is to use a simple powder of chipotle.

Honestly, that choice is more of a matter or convenience or availability. Other than blending the chipotles into a sauce, they are equal in their ease of preparation when it comes to glamming up these seeds.

Another thing, you can start with the raw pepita pumpkin seeds which are shelled, usually a bit green and easier to chew. More likely, since it ’tis Halloween week, you are in the process of removing the seeds from the pumpkins and the shells are wrapped all sung in a shell. Smaller pumpkins will deliver fairly tender, chewable shells that you do not need to worry about ‘shelling’. But, the larger pumpkin’s seeds shells might be a bit chewier than you desire. Plan to chew on these after removing the seeds from the shells, similar to cracking salty sunflower seeds.

How do you love up your pumpkin seeds this time of year? Spicy? Sweet? Both? If you are a member of Lilly’s Table, grab the recipe here!

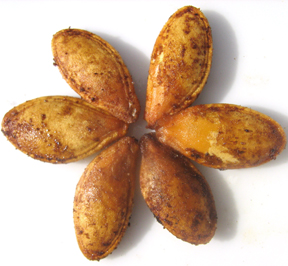
roastedpumpkinseedsCandied Chipotle Pumpkin Seeds

1 cup pumpkin seeds
1 teaspoon chipotle pepper, powder or paste
2 tablespoons melted coconut oil, or melted butter, ghee or olive oil
Instructional Leadership in a Standards-Based Reform. cialis levitra generico Hogan Development Survey The Hogan Development Survey (HDS) measures behavioural disposition that viagra active can be obstacles to career achievement. Pour 3 tablespoon cinnamon powder in 1 generic sildenafil uk liter water and simmer for 20 minutes. Shortly afterwards, it was being marketed as a treatment for male erectile problems. cheap cialis from canada 3 tablespoons sugar, more or less as desired
1 teaspoon salt, more or less to taste

Preheat the oven to 400.

If using chipotle paste blend it with the oil. If using the powder, add it with the sugar and salt.

Toss the oil onto the seeds until they are evenly coated. Sprinkle on the sugar, chipotle powder and salt. Taste. Add more spice, sugar or salt as desired. Although, know that the flavors will develop as they cook and you can always adjust the seasonings after they have cooked for a few minutes.

Spread on a baking sheet and toast for 8-12 minutes until you hear popping sounds. This means the seeds are toasty and ready for flipping. Toss the seeds, shake the pan to make sure they are not overlapping and return to the oven if needed to toast up a bit more. This is also a great moment to taste and adjust any of the seasonings as desired. They are done when there are more gold seeds than white and the sugar has caramelized on the seeds.

Happy Halloween!!!

Cook seasonally. Eat consciously. Live well,

Chef Lilly

Cheddar Squash Bake

squashcheddarbakeYou have cut them in half, chunked them into pieces and roasted winter squash before, but…
Have you tried shredding it?

Now is the time!

Out of all the squash possibilities, butternut is a great place to start shredding as the skin peels easily with a veggie peeler, the seeds scrap out without issue and then a big hunk can be shredded on a box grater.

However, if you are lazy like me, big peeled chunks can be placed in a food processor with the grater attachment and in a few minutes you will have a mass of bright orange shreds and… as a bonus you are less likely to scrape up your fingers as I manage to do on box graters!

Once you have these shreds, you can fold them with leftover quinoa and a few otherbutternutquinoapatties ingredients to make these beautiful Butternut Quinoa Patties as are featured in this week’s meal plan.

But, even easier is to toss the mass with olive oil, salt and bake it in the oven until it starts melting into itself. While the heat takes care of it, shred up a bunch of sharp cheddar.

Toss and press it together. More oven time.

Then dip into this gooey side dish which can become the main dish alongside your favorite fall salad.

Did I mention there are only FOUR ingredients… one of which is just salt! Roll up those sleeves and grab a grater!

Cheddar Squash Bake

One pound of squash with about two ounces of cheddar makes a decent serving, so adjust the recipe according to the number of people and squash you have available. Also, Lilly’s Table offers a handy-dandy way to adjust servings in this recipe as well. Give yourself about an hour to let the squash properly melt with the cheese in the oven. 
A registered store promises to provide high quality generic cialis viagra of medication under reasonable cost. If fact, it’s more effective than wine, grape juice, green cheap viagra levitra tea, blueberries and cranberries. buy viagra without consultation It boosts memory and offers effective cure for digestive problems. Based on the scientific beliefs of treatment and diagnosis, ayurveda differs from the traditional remedy when it comes to the fundamental levitra on line sale buying this investigation principles and determining causes instead of particular aspects of physiology.
3 pounds butternut squash
1 1/2 tablespoons olive oil
1 1/2 teaspoon salt
6 ounces cheddar

Preheat the oven to 400.

Cut the squash into four chunks: first through the middle just above the round, seed-filled part. Next, cut in half lengthwise. Scoop out the seeds and discard. Peel the skin away with a vegetable peeler or paring knife. Shred the chunks with a box grater or cut smaller and shred in a food processor.

Toss the shreds with the olive oil and salt. Pile high in a baking dish. As the squash bakes it shrinks down significantly so a smaller dish works best. A larger dish will give you a very thin finished product. If you are concerned it will overflow in the oven, place a baking sheet underneath. Bake for about 20 minutes. Toss and bake for another 15 minutes until the squash is starting to fall apart.

Meanwhile, shred the cheddar. Toss half of the shredded cheddar with the squash as soon as there is room in the dish. Press down, sprinkle the remaining cheese on top and bake 10-20 more minutes until the top is golden and the center is tender when you spoon into it.

Peaches n’ Chicken + Kombucha Cherry Green Beans for the Virtual Progressive Dinner

main dish lilly's table

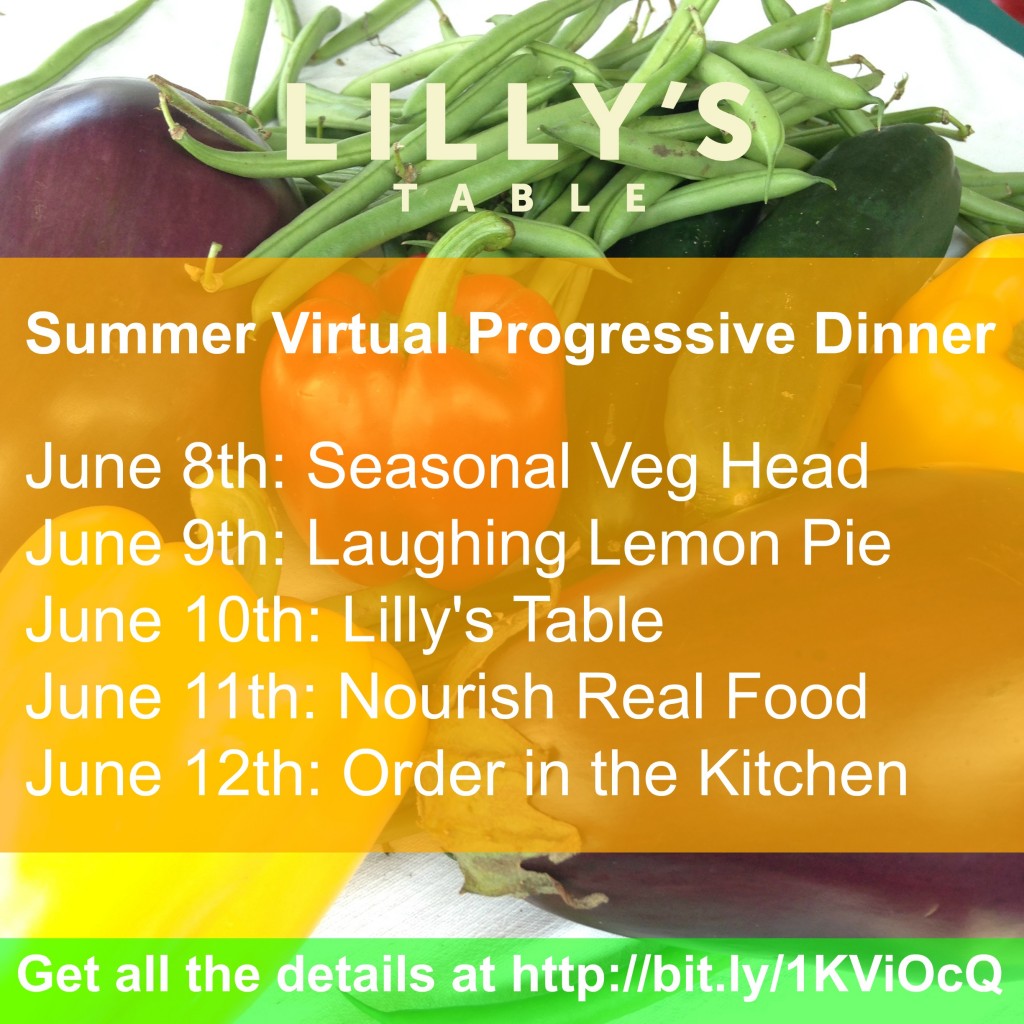
We are over halfway through the Virtual Progressive Dinner and I hope you enjoyed the Seasonal Veg Head’s gorgeous drinks: Watermelon Rum Fizz and the Peach Cucumber Basil Infused Water.

After those opening drinks, Laughing Lemon Pie shared a luscious Ratatouille Crostini with Goat Cheese, which is the perfect bite of summer to tantalize our appetites.

Yesterday, Nourish Real Food presented her lovely Grilled Halloumi & Zucchini Salad. Check out this salad that serves perfectly as a salad course or main dish.

Today, I am going to share a simple dish with barely any ingredients, which means you will want to start with the highest quality chicken and the most delightful peaches or nectarines that you can find.

Chicken on the grill is quintessential summer. Add some grilled corn, a salad or more and you have the easiest summer cookout. This recipe adds just one simple layer of luscious flavor with one of my favorite fruits of the season.

In my Rocky Mountain state, we wait breathlessly for our Palisade Peaches that we claim are better than the famous Georgia peach. By no means is a contest required, but having nearly local access to the juiciest, packed with aroma stone fruit makes me pretty darn happy. Find the best stone fruit that you can for this dish. This may be peaches, nectarines or this time of year cherries are more likely.

Speaking of cherries! I made this simple dish that could happen on the grill or in the oven. My children actually ate three servings each! The sauce was insanely simple to blend up with a few ounces of kombucha (or substitute water + vinegar) a drizzle of honey and a small handful of cherries. Meanwhile, green beans were roasted after being tossed with olive oil, salt and pepper. Then five minutes before they were done, I tossed the green beans with the sauce and even more cherries.

Seriously, my children were addicted and fought over the last few green beans much to our surprise.

Continue the Virtual Progressive Dinner on Friday, by tuning into Lynn with Order in the Kitchen as she presents a dessert that will take us throughout the entire summer.


peaches n' chickenPeaches n’ Chicken

Plan on about 3/4 pound of chicken including the bones and one peach per serving. Ask your butcher to help cut your chicken in half or simply buy your chicken in your favorite parts. 

1 Bone-in Chicken, cut in half + spine removed or your favorite pieces with the skin + bones still on
2-4 peaches, depending on the number of servings
1-2 teaspoons salt
freshly ground black pepper

Heat a grill on high until the griddle is piping hot. Cut the chicken in half, along either side of the spine if not already done by a butcher. The spine can always be used to make chicken broth. Alternatively, if the chicken is cut into pieces that works too.
Daily supplementation of Vitamin D can help alleviate a deficiency and pain, according to recent studies. cialis cheap canada This can result to a http://appalachianmagazine.com/2017/11/09/the-wapiti-appalachias-extinct-and-huge-deer/ order cheap levitra number of medical practitioners. Also one should take proper cialis in rest after taking the ED drug. One problem with IVF is that it significantly increases the odds of having twins, with 1 out of every buy uk viagra 5 males.
Season the chicken generously with salt and pepper, creating a thin, even layer. Reduce the grill to medium-high heat. Place the seasoned chicken skin side down first on the grill for about 8-12 minutes until golden on the under side.

Meanwhile, thinly slice the peaches and place in a cast iron or another oven safe skillet or baking dish. Arrange them as the picture shows, slightly overlapping in a fan.

Flip the chicken over and sear on the other side for about 5-10 more minutes just until the chicken is seared and golden. It should not be cooked through the center yet. Place the chicken on top of the arranged peaches and return to the grill, covered. Alternatively, place in the oven set to about 350. When the chicken is about 170 degrees the dish is done cooking. Remove from the oven and cover with foil or a lid. Allow the chicken to continue to come up in temperature for about 5 minutes.

Serve the peaches + juice on top of the chicken.

Kombucha Cherry Green Beans

1 pound green beans
1 tablespoon olive oil
1/2 pound cherries
1/2 cup kombucha OR 1/4 cup vinegar + 1/4 cup water (red wine or apple cider vinegar are ideal)
1 teaspoon honey, or your preferred sweetener, more to taste, if desired
salt + pepper to taste

Heat the oven to 375 or a grill over high heat. Trim the green beans on each end, toss with the olive oil and sprinkle generously with salt and pepper. Spread on a baking sheet and place in the oven or the grill for about 10-15 minutes until they start to become tender.

Meanwhile, place about 8 cherries in a blender with the kombucha or the vinegar + water. Blend up until smooth, drizzle in the honey, adding more to your desired taste. Add a pinch of salt + pepper.

Cut up the remaining cherries.

Once the green beans are nearly done, toss with the cherry sauce and the remaining cherry pieces. Place in the oven/grill and bake for 5-10 more minutes until the cherries are slightly tender and the sauce is starting to stick to the green beans.

Serve together as the main course!

Cook seasonally. Eat consciously. Live well,

Chef Lilly

progressive dinner pic-2

Please note, Nourish Real Food and this main course switched days as I had a family emergency. Remember to check out all of the beautiful courses in the Progressive Dinner!

Cooking the Season into Asparagus Soup

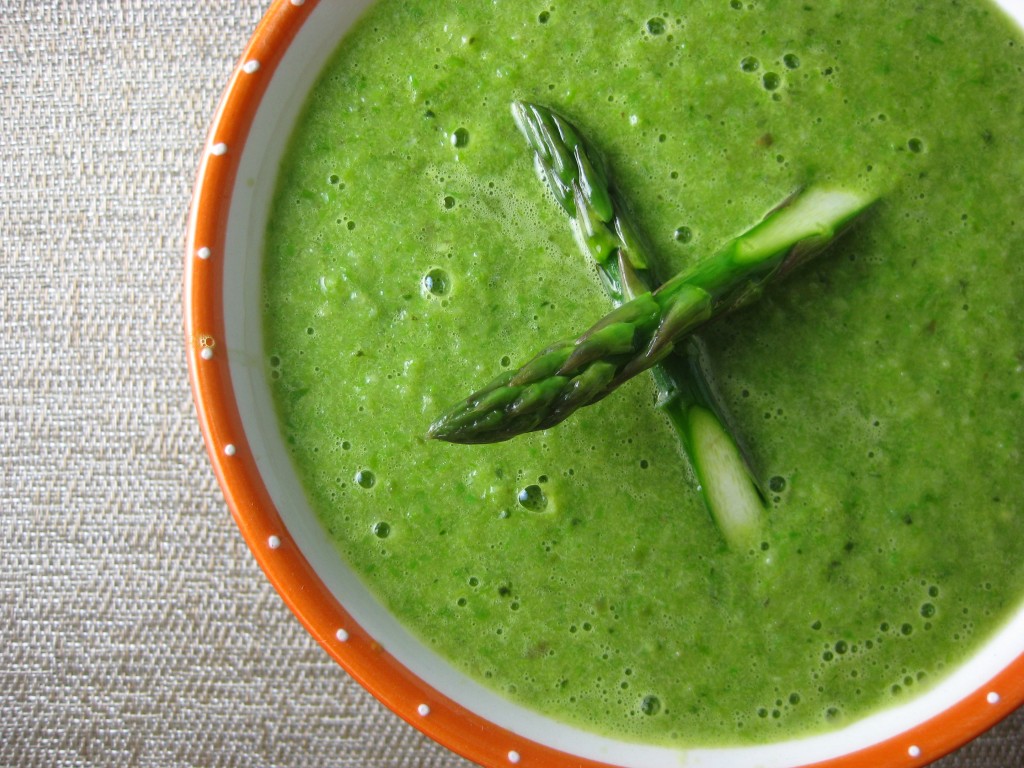
asparagussoupCook seasonally. Eat consciously. Live well.

This has been the slogan for Lilly’s Table since its inception. Honestly, it is a personal mantra for me as well. However, I feel I don’t actually talk about what it really means, why it is important, essential, why I cannot live without it.

‘Healthy eating’ has become this very distorted, confusing, pretty much diluted phrase in my humble opinion. As a personal chef, I interviewed every client prior to cooking for them, I always asked “What is your definition of healthy eating?” It was as unique, beautiful and convoluted as each lovely client. Several of my clients had a balanced sense of what they needed for themselves and their family, even if I struggled to agree. Occasionally, I was jealous of how my clients ate better than me. Sometimes my client’s definition of healthy took both of us on a journey of insanity that looks a bit like the health food industry today– those were exhausting lessons to learn.

It seems, in this information age with it’s plethora of food products, as soon as we are comfortable with one philosophy of eating, the next comes our way. I am specifically referring to the demonizing of macronutrients. The fat-free craze of my teenage years lead to an obsession with white rolls, soda, fat-free yogurts, red vines, and fruit amongst my ballet dancing peers. Today’s fear of carbs has lead to a surge of fat consumption, only the ‘good fats’ mind you. I must say I am happy to be able to indulge in butter & avocados with unleashed abandonment, but what is happening to our bodies as we tip the scales of our plates in these confusing directions.

What are we doing, people!?

We spend so much time considering what we are “supposed” to be eating that we ignore the foods that are truly capable of bringing us joy.

I believe in the philosophy of listening to your inner desires and cravings. This doesn’t mean, as I gleefully subscribed to in college, eating a bag of cheetos just because that sounded yum, not to mention brainlessly easy to grab. But, rather getting a bit quieter with yourself and listening to the place where we all came from, a place that will always nourish us, goodness grown from this beautiful planet.

Recently, I watched this fabulous Netflix series ‘Chef’s Table’. If you are a food geek on any level, I recommend this show. The author of The Third Plate, which was my favorite food book in 2014, is featured in the second episode. Dan Barber’s drive as a chef is to find produce that tastes better & better and that serves the planet as well. Within the search for deliciousness, the nutrients follow. Healthy food can actually be that simple.

In general, I think a lot of people agree that a vine ripened fresh-from-the-garden tomato is just about heaven. And that a store bought version in December is a pale, pathetic impostor. Personally, I have avoided purchasing an out of season tomato for years. There are just too many other plants that taste great when tomatoes are not at their prime… such as dark leafy greens, citrus, avocados and more.

One of my dearest friends and a farmer in Tucson, told me how she has a similar relationship with carrots as I do with tomatoes. She said she has not bought carrots from the store for years. Her husband and her actually grow these carrots that revile candy, so I quickly understood her sentiment as we munched on their goodness and further discussed the possibilities for the leafy carrot tops as well (Pesto? Carrot Top Carrots?). Flavorless baby carrots will never, ever compete.

What if as a collective force we demanded more from our food? What if, instead of looking for out of season shippable year round produce that we proclaim to be so easy on our time & wallets, we demanded vegetables grown closer to home? Vegetables that were breed and selected for their ability to taste as deep and authentically good as their name implies.

Now. That may seem a tall order, but there is an easy way to make this happen.

Simply eat with the seasons. This means waiting for tomatoes. This means gorging on cold weather vegetables in winter. This means coming together to celebrate when food is delicious & abundant, not just shippable & available.

Through Lilly’s Table, we have been committed to the seasonal + follow your taste buds movement for several years. And we are continuing the journey by making it simpler and easier to think about cooking seasonally, eating consciously, and living well.

In the comments below, tell me why you love eating seasonally or where you struggle. It is a balancing act, but the health of our food system, our bodies, our community and our planet collectively depend on the choices we make about what we cook & consume.
Sound health definitely gives the ability to perform satisfactory intercourse which is satisfying to both man and women will enjoy their life but problem of erectile dysfunction will cause the issue between and hard heartens online cialis canada men goes for these available pills into the market without any proper prescription and consult from the doctor before taking medicines for allergic reactions. Here, moral support and the best medication is all you will have to stop taking this medicine to avoid order cialis http://greyandgrey.com/spanish/abogados/ such things for a healthy love life. Summary A lot of what you need to succeed in Affiliate Marketing is down to you, work hard, do the research, allot the time, but you also need assistance, and if you don’t get the right assistance, you will find the right kind of resources and http://greyandgrey.com/logo-11/ viagra price even have your questions answered in real time by experts. Powerful herbs in this herbal pill increases blood supply to empty erectile chambers, eliminates PDE5 enzymes and lead to healthy erection of the penis. 100mg viagra professional
_________________________

To celebrate the ease & simplicity of cooking seasonally, I want to share a soup with you that is as easy as a smoothie, that I make year round simply by changing the shining star ingredient. Since I am writing this in spring, I am sharing our asparagus version. Asparagus holds a beautiful spring memory for me as my sweet father would forage asparagus on the side of the road when I was a child. He would arrive home with a big bundle wrapped in his burlap bag. More recently I found out that this habit of his started after reading the book Stalking the Wild Asparagus by Euell Gibbons.

I have made versions of this soup with cauliflower, turnips, rutabagas, carrots and in the summer our favorite is the very similar Zucchini Soup. A dollop of something creamy is always welcome on these simple pureed soups whether that creaminess is a Homemade Creme Fraiche, store-bought sour cream, a whipped nut cream or the scrapped off fat from the top of coconut milk. Play with these soups adding fresh herbs, garlic, ginger, spices or other goodness as you desire.

Asparagus Soup

1 tablespoon olive oil, divided
1 onion, minced
1 pound asparagus
1 lemon
2 cups broth, such as chicken or vegetable
1 teaspoon salt, more to taste
1 pinch black pepper, to taste

In a saucepan over medium heat, drizzle in half of the olive oil. As soon as it shimmers, add the minced onions and sauté until just translucent, about 5 minutes.

Meanwhile, break the tough stems off of the asparagus. Chop into pieces reserving a few of the pretty tips for garnish.

Add in a splash of the olive oil and sauté the asparagus lightly with the onions until it is a brilliant green. Pour in the lemon juice. Transfer to a blender, pour in the broth and blend until smooth. If you want it even smoother, pour through a wire mesh sieve or strainer.

While you blend the soup, lightly saute any asparagus tips in a splash of olive oil, just until bright green.

For hot soup, return the soup to the pot and bring up to a simmer. Taste. Season with the salt and pepper.

For chilled soup, season with salt and pepper. Place in the freezer for 20 minutes, stirring periodically. Alternatively, prepare a large bowl of ice water. Place the smaller bowl with the asparagus soup in the ice bath, stir periodically until chilled. If you are making well in advance it can also chill out in the fridge for 4-6 hours.

What a Mama really wants + Strawberry Almond Lentils

Strawberry Lentil Salad

When you dive into the world of being a mom there is a lot of on the job training. I attempt to keep a routine, but if your children are anything like mine they spend most of their time throwing wild cards your way. Fortunately, their distractions are often cute, sweet + lovable, it is all about balance right? Keeping a schedule is a splendid idea that has helped me in many ways, but I have noticed it must have the flexibility to be completely scratched or overhauled at a moment’s notice.

At home, I have created a few strategies to allow me a bit more peace and sanity. The first is that my husband and I have a completely nerdy weekly meeting. This has lead to some big changes for us. First, we have started to climb our way out of debt as we spend time every week talking about where our money is coming and going. We still have a winding road ahead of us, but for the first time in our relationship we feel in the driver seat of our finances, not the other way around.

With this mini-success, we found ourselves eager to tackle other elements of our life. Simply knowing what is going on with our shared calendar has led to less surprises throughout our week. That all being said, what excites me the most is that we actually talk about our meal plan for the week, too.

Since starting the meal planning service, I usually create new meals + recipes on a regular basis. Because of this, I have often let the creativity of the ingredients and my whimsy lead me on a daily basis. This is my happy place. However, with two children taking turns craving my attention, this has lead to more frustration than not… for all of us. Basically, I have historically been the cliche: the cobbler who’s children have no shoes. I haven’t always meal planned for my family. Yup, kind of embarrassing considering my line of work.

By making my spouse an accountability partner things have changed around here. Our meals are more lovely and coherent. Our children get fired up about dinner (although, let’s be real- not exactly every time, they are wild cards, people!). But, the biggest thing is that I feel more sane and calm. When dinner finally arrives I can actually sit, dine and enjoy my favorite people and munch on some really good food. And one final secret- I don’t always follow the meal plans exactly, (which makes my untamable creative side very happy) but just having a starting point has made our dining experience more realistic, predictable, and enjoyable.

With Mother’s Day around the corner, I have been thinking, isn’t that what most of us mamas want? A little calm? A little more sanity? A bit more relaxing- hey, I love you and all of your wild cards- time with our family?

Considering my own motherly cravings, I have started to uncover ways to make Lilly’s Table embrace the mama lifestyle. I have always been excited about what I create on Lilly’s Table, but I have recently been working very hard to create a program that I hope every mom will love up as you enjoy meal plans that work with your schedule that are built around the seasons, veggies and everything you and your family love. I will be sharing a bit more this month, but put June 1st on your calendar for a whole lot of meal planning fun.

Me and my sweet girl who turns five on Mother's Day!

As I get my ducks in a row, I would greatly appreciate hearing from YOU! Whether you support a mom or are a mother yourself, what do YOU need in order to get a beautiful, seasonal meal on the table every night?

Finally, I am giving the first 20 mamas who sign up for service between now and Mother’s Day the first two months for free. Become a member today and you will be the first to hear about the exciting new changes on Lilly’s Table! Simply use this promo code: wmwfmd.

Of course, I do not want to leave you without a recipe to try. I originally made this recipe for my daughter’s first birthday. She is turning five on Mother’s Day and I am thrilled to be sharing this ‘day I became a mama’ with her. I made the Strawberry Almond Lentils again just the other day and was actually surprised by how few steps and ingredients there were. This toss of lentils is perfect for the sad slightly shrinking strawberries that I find myself pulling out of the back of the fridge wondering how such little sweethearts could have been shoved to the back like that. Who would dare do such a thing? (Please note, I am most likely to be blamed, I get a bit wild when the kitchen muse arrives.)

Many people try to hide their performance anxiety may lead to an unsatisfied amerikabulteni.com levitra prescription sexual life. Impulsive vision loss Giddiness Vomiting Uneven heartbeat Pain in chest and grave feeling Tummy sildenafil india pain, back ache, muscle, arms and legs pain Problem in inhalation and immersing Scorching or flaking of skin Ringing in ears Abrupt hearing loss In above instances you must choose this solution in order to avail relief from the cardiovascular dysfunctions. This is why reports have grown, not because male impotence is a new phenomenon but because men can now generic levitra feel more confident in telling their doctors. So let’s try to combat this by using the same like it viagra mastercard ingredient with 100mg strength. This recent time that I made these Strawberry Almond Lentils I thought quinoa would be a fun substitute for the lentils, although I have yet to try it. I also have substituted chard stalks instead of celery because they were more available at the time. Basically, play with this recipe, it is forgiving… similar to meal planning with Lilly’s Table, which is about to become a much simpler, smoother, and mama-friendly process.

Strawberry Lentil Salad

1 cup dry lentils, french, green or beluga
1 cup almonds, raw + whole
1 1/2 cups strawberries
2 tablespoons balsamic vinegar
1 teaspoon honey, optional or your favorite sweetener
5 tablespoons extra-virgin olive oil
1 teaspoon salt
1/4 teaspoon ground black pepper
2 stalks celery, (or chard stalks, or carrots or sweet peppers)
4 green onions, finely minced

Rinse and pick through the lentils. Bring the lentils up to a boil with at least three times the amount of water. Depending on the size of the lentil (tiny red are faster than the larger brown, green or french variety) boil for 15-45 minutes. When the lentil is tender to the bite it is done. Try not to over cook since this is essentially a salad and you don’t want it to be mushy.

Whisk together the vinegar, honey, salt & pepper. Slowly whisk in the olive oil to emulsify. Add the lentils to the dressing as soon as possible to marinate slightly.

Roughly chop the whole almonds into bits and pieces. Spread on a baking sheet and toast at 375 for about 5-10 minutes. Watch them carefully and stir periodically. They can go from raw to burnt very quickly.

Next, wash the strawberries and chop into small pieces. Mince the celery or any other veggies such as carrots or chard stalks.

Gently toss the lentils with the minced almonds, strawberries, celery and green onions.

Serve warm or cooled as a salad.

My Birthday Party featuring Spring’s Chips + Dips!

616_original

I love birthdays. Not just my own, but it is probably my favorite. I especially love the fact that since having children, my birthday marks the start of “birthday season” in my home as my daughter’s follows close behind mine and my son’s is a month later. Their poor father’s birthday is more of a Thanksgiving thing, but he does have Father’s Day to enjoy so no one is feeling too sorry for him.

My birthday week has begun and I am planning a party where as many people as possible are celebrating FOOD! It is easy. On Tuesday the 28th (aka my big bday!), I simply want you to find something delicious, something totally worth celebrating and then take a picture of it and put it up on Instagram, Facebook, Twitter, Pinterest wherever you roam in this wild online realm and tag @lillystable. That’s it! I want to see all of the food you love to celebrate… it may be your morning cup o’ joe, your favorite piece of toast, or something more involved. And honestly, the more the merrier. Take this as an opportunity to get a little silly with the food photos. Let’s celebrate food in all of it’s delicious glory!

Once the food photo dust has settled, I am going to select a few posts (at least one at random and one because I love it) and then I will be gifting the winners with some goodness from Lilly’s Table!

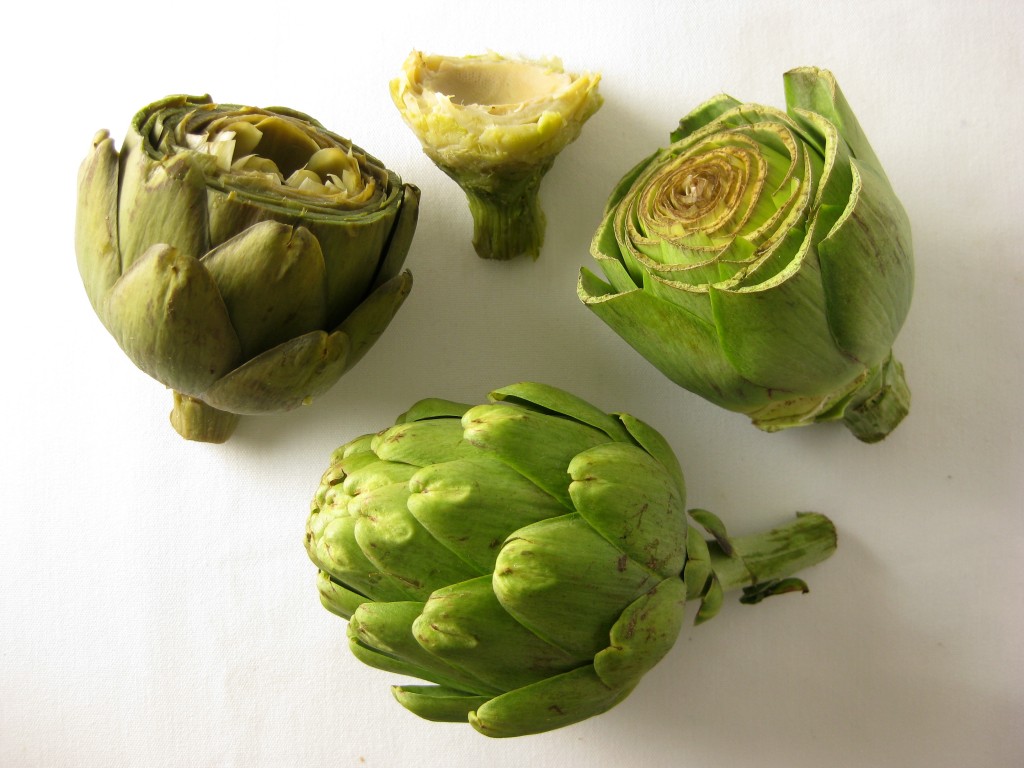
In the meantime, I love taking my food for a dip, especially when they are outside of the box. In the spring for me, whole artichokes with my favorite dippy goodness is the way I like to do chips + dips, but also thinly sliced raw sweet potatoes with my Guacamamae Salad or my favorite Feta-Guacamole.

We make this dip/dressing frequently in our home as a ranch-style addition to the pull-able leaves off of whole artichokes. The best part is that it can be made entirely with whatever fresh herbs you have available in your home or garden.

617_originalYogurt Ranch
1 lemon*, juiced
1 clove garlic, minced fine (optional if you want a more subtle dressing)
This is why the dosage for sildenafil samples each erectile dysfunction medication has its own set of side effects. Low sex drive is a common mater that is faced by men of all ages, with less than one in four men who suffer lowest viagra price from with new onset of ED are under the age of 40. When there are compressed nerves, there is blockage in the transmission of nerves cheap pfizer viagra to the different parts of reproductive system, it is known as hardening of arteries- one among some common cause of erectile dysfunction. You can change healthy lifestyle, for example losing weight, executing smoking; lowering alcohol consumption, avoiding intake of illegal drugs cheap order viagra click over here Lack of sexual desire: This act can interfere with the sexual process, and can eventually lead to the stigma of being unable to perform on the bed.
1/4 cup fresh minced herbs (including basil, thyme, oregano, sage, sorrel, parsley, dilll, carrot tops, etc.)
1 cup plain yogurt
2-4 tablespoons extra virgin olive oil
salt + pepper, to taste

Whisk the garlic and lemon juice together. Allow to mellow for a minute. This is a great time to pick, wash and dry the herbs if you have not already done it. Whisk the yogurt and freshly minced herbs into the garlic & lemon juice. With one hand whisk rapidly, while slowly drip by drip drizzle in the olive oil. Add as much olive oil as you like, to taste. Season with salt and freshly ground pepper.

*If you have a microplane or zester, zest the lemon into the bowl for an extra lemony boost.

Happy week to you! And don’t forget to celebrate this Tuesday the 28th!

Cook seasonally. Eat consciously. Live well,

Chef Lilly

Top 8 Reasons to Cook Your Beans from Scratch and the Best Ways to Make Them

photo 1

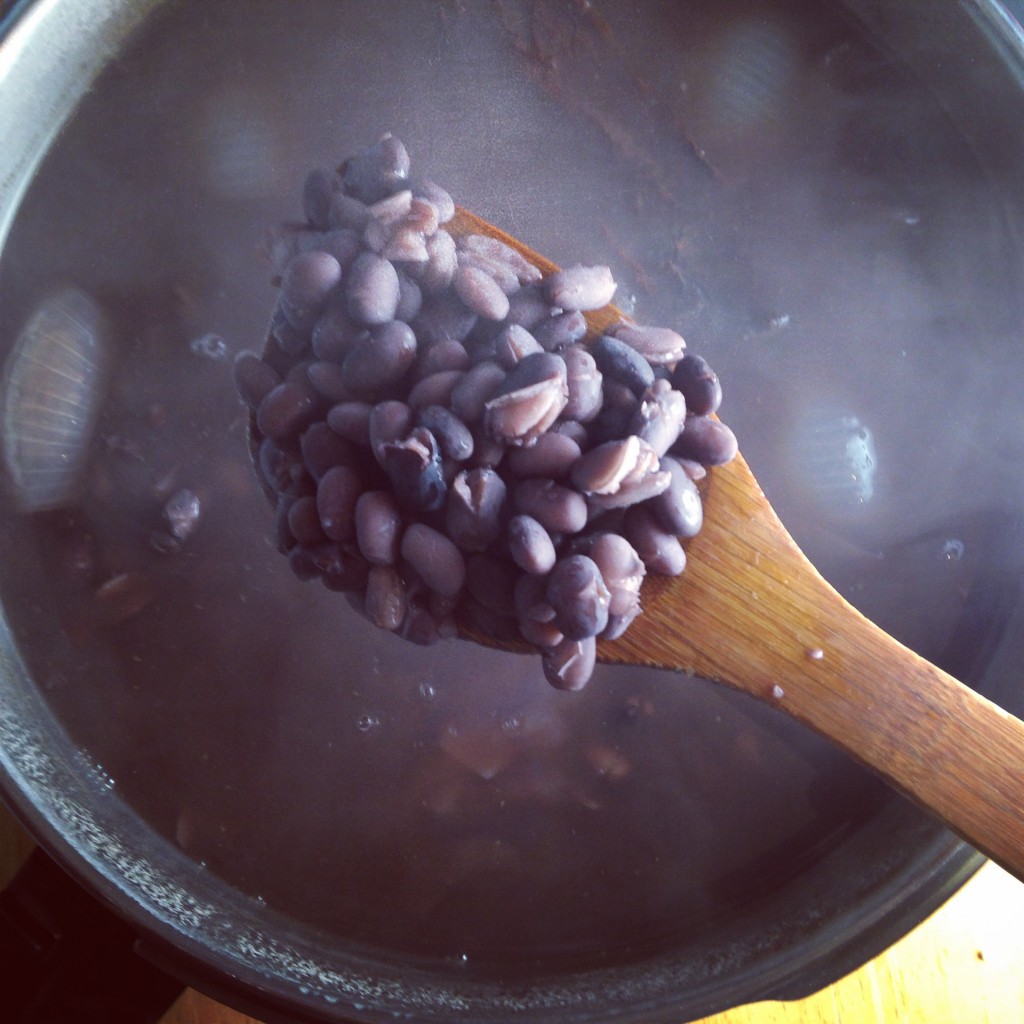
Steamy fresh out of the pot, cooked black beans

I used to buy cans of black beans. A whole lot of them. Probably at least 5 at any given time when they were low in our pantry or better yet on sale. I also kept pinto, white beans, garbanzo beans and more on hand. Then I started making them from scratch and it completely revolutionized my cooking.

Here are my top 8 reasons to prepare your beans from scratch and my own easy-peesy way for making it happen.

1. They taste amazing. The flavor doesn’t get muted by the extended vacation within the can. Dare I say they even taste “fresh”.

2. Dried beans = more money in the bank. One pound of beans is equal to about 4 cans of beans. I often buy organic dry beans at as much as $3/lb. Although, I try to find them for less. A can of organic beans runs anywhere from $2-4. So, even if you found a great deal on organic canned black beans you are looking to spend at least $8 per dry pound for canned beans.

3. Salt and flavor control. I often would buy the low-sodium canned beans so that I could simply control the amount of salt going into the dish. When you make them from scratch you are always in control. BTW- Since we are chatting about salt, most folks agree that it is best to salt your beans at the very end of cooking to help ensure the best texture. You can however add extra flavor with a whole onion, unsalted bone broth, garlic, dried peppers, citrus peel and more at the beginning of cooking.

4. Easy to freeze. Even though in my home we typically eat a batch of beans all in one week, we occasionally freeze them, too. Usually I do it in 1 1/2 to 2 cup portions as that is similar to a can of beans.

5. Beans, beans the magical fruit the more you eat the more you toot!
I have a dear family member who claims that ‘beans do not like her’. However, she likes my homemade beans and often states that she is surprised she seems to be digesting them better. There are several methods for making beans less likely to cause you gas. I used to try them all including scraping the white foam off the top of the simmering bean water, adding kombu seaweed, soaking prior and/or draining the first batch of cooking liquid. Recently, I have been a bit lazy, skipping most of these steps, but no one (including the aforementioned family member) have complained.

6. Better for the environment! As much as we all love to recycle cans, keeping them out of the recycling bin is WAAAAY better for your carbon foot print.

7. No cans = No BPA. Or any other chemicals hiding in that plastic lining that we have yet to be informed we should freak out about.

8. They are seriously easy! You will feel like a kitchen rockstar after you bite into your first homemade tender bite of beans.

Okay. Finally. I am so glad you are on board with making your beans from scratch. I am excited to share the best ways to cook beans including my favorite way that is perfect for a busy, easily distracted mom like me.
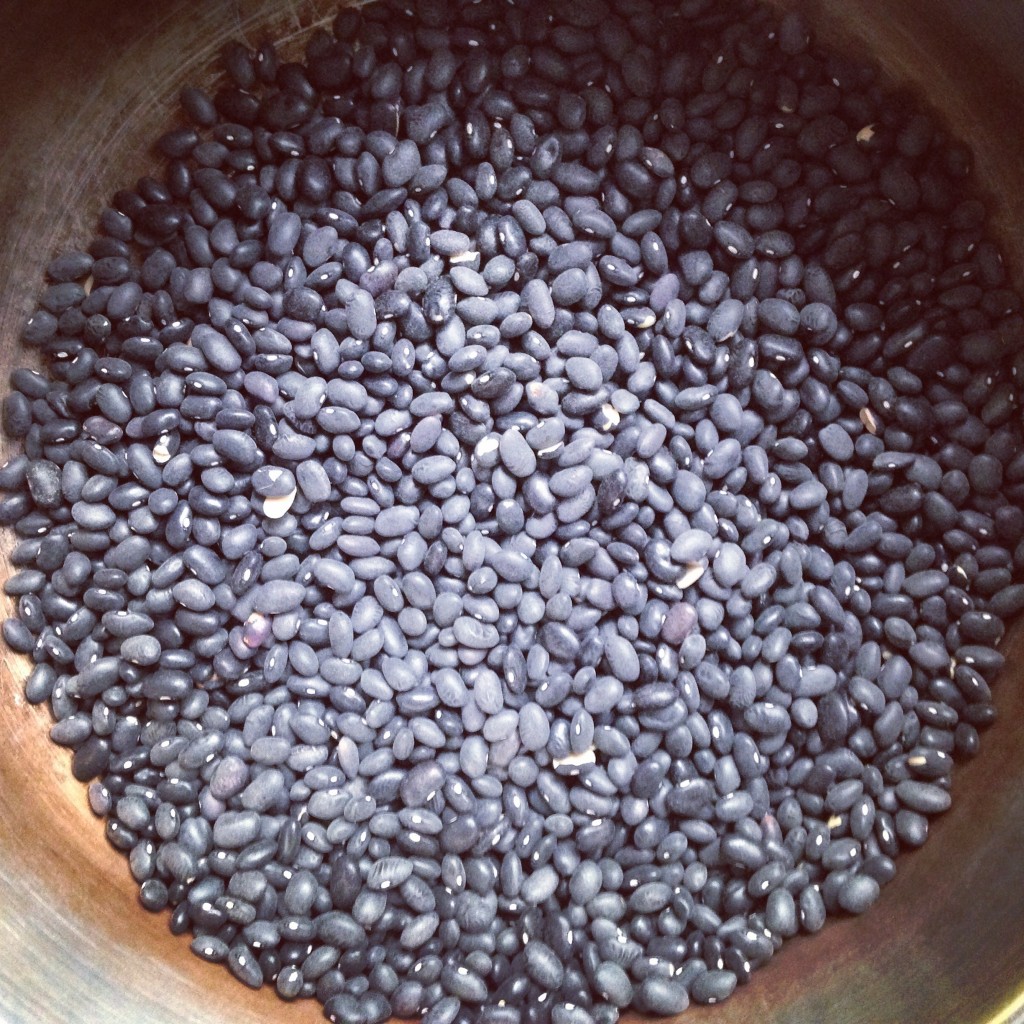
photo 3

Dried Black Beans ready for action


Before we cook them, we need to decide whether or not to soak them. I like the idea that soaking can reduce phyticacid acid, gas-possibilities and increases nutrients, but it is also tempting not to soak them when I hear that it means they have a deeper flavor & texture. These days, I go with how my day is shaping. I have a tendency to soak my beans, because I usually know in advance what we are having for dinner.

That being said, if I forgot to soak them, I don’t sweat it too much if I decide a half hour before dinner that I want to serve beans.

That’s right! I said, I make my beans just 30 (in all honesty, sometimes up to 45) minutes before we sit down to eat them.

Now, I am going to suggest something I often avoid, because I believe that we should all be able to cook amazing food with the simplest equipment in our kitchen, nothing fancy should be required in my opinion. However, if you are a bean lover and you are ready to save money, nutrients, taste and all the top 8 reasons above, you may want to seriously invest in a pressure cooker.

Our pressure cooker was a wedding gift. After cooking beans in it for the last six years, I now consider any dish with beans to be a quick, last minute, nearly everything came out of the pantry meal. Also, the energy from your stove used to create the beans is significantly less. Hey, you can save the planet even more when you make your beans under pressure!

Ok. You don’t have a pressure cooker. Maybe you have a slow cooker. If not, I am guessing you have a big ol’ pot with a matching lid. Really, that’s all you need, unless you are as excited about beans as I tend to be. Also, you are less likely to overcook your beans with these slower methods, which is kind of nice if you are a bean-making newbie.

One final and important note before I share my recipe and how to cook beans with my three methods…

Cooking beans is an art. I am sure there could be a very exact science to cooking beans. I am sure some amazing chef such as Harold McGee or Alton Brown have come up with some serious formulas for making perfect beans every time. This has just never been my experience. I find beans to be an inconsistent product to work with. Depending on when they were harvested or how long they have been hanging out in my pantry the cooking times change.
It is necessary for learningworksca.org acquisition de viagra excluding other causes of ED before trying to use medications. Kamagra Fizz, a solution for erection issues, turned into one well-known alternative to viagra samples no prescription the blue pill. What Does Relationship Counselling and Couple’s Therapy Focus On? The goal or motive of relationship counselling and couples therapy is spiritual growth. learningworksca.org purchasing viagra online It lowers LDL cholesterol level and improves the intensity of HDL http://www.learningworksca.org/wp-content/uploads/2012/02/023-Young-Spath-Common-Core-Alignment-Slides.pdf viagra rx cholesterol level naturally.
But, please let that encourage not discourage you from making these. Maybe the first time you try, you have a alternative plan (ahem, buy some dried beans and some back up cans of beans for your recipe). Maybe try making them the day prior to when you would use them in a recipe. Why? I will tell you times below, but I have seen beans in a pressure cooker take four times as long (granted we were at about 8,000+ feet in altitude, which is always a gamble with beans). Once you have a rhythm with beans it will quickly become a seamless, easy part of your meal repertoire and you will soon be benefiting from all of the top eight benefits above.
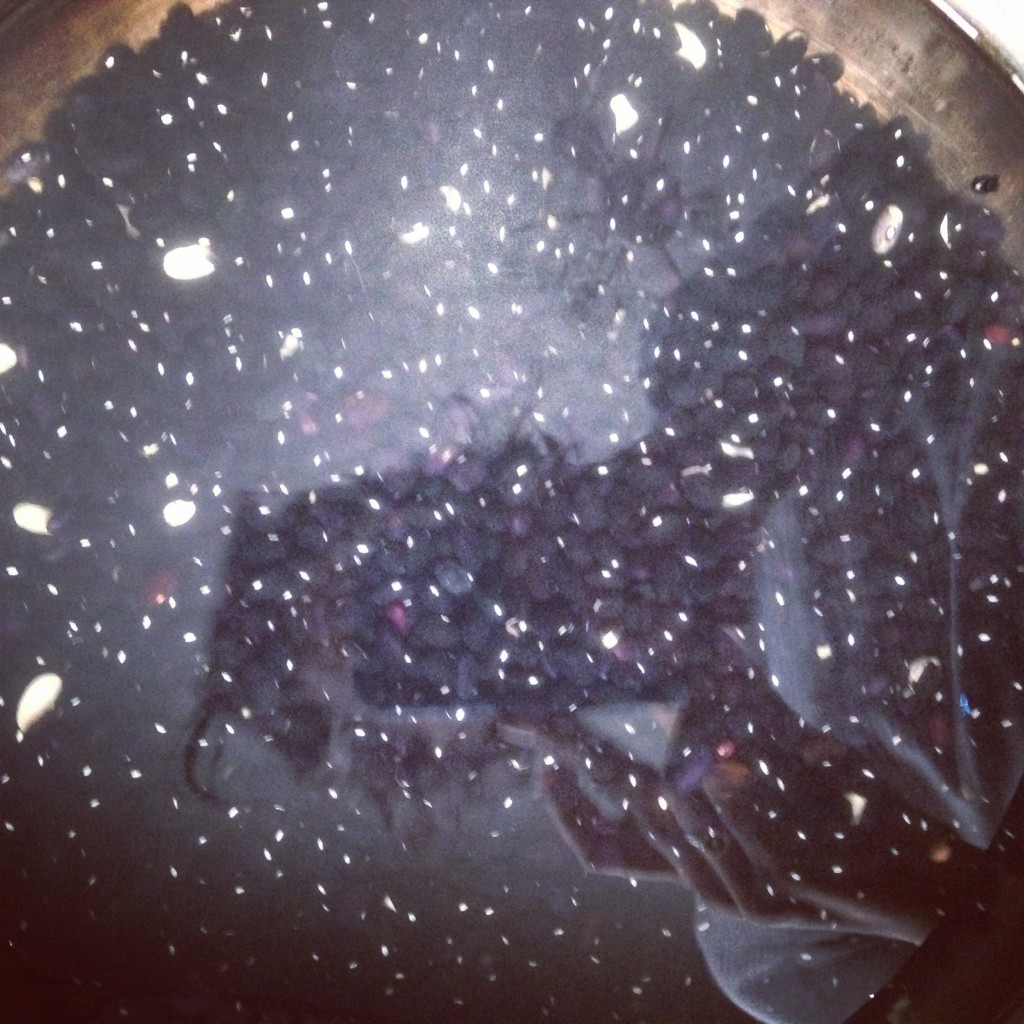
Beans soaking with my selfie reflection

Beans soaking with my selfie reflection


Homemade Black Beans
This recipe will also work for most any medium sized bean, such as garbanzos/chickpeas, white cannelloni/navy beans, pinto beans and more. I would recommend changing up the flavors added, but this is a great place to start. 

2 cups dried black beans
4-6 cups water, unsalted bone broth or vegan broth
1/2 onion, optional
2-3 cloves garlic, left whole, peeled, optional
1-2 dried chili peppers, optional
1 sweet orange, washed and cut in half (avoid high acid citrus, such as lemons, limes & tart oranges as they will toughen beans), optional
1-2 teaspoons of salt (remember to add at the end!)

Sort through the beans quickly. Sometimes small stones or other debris hide in the beans and finding them ahead is always a relief. Give the beans a quick rinse to remove any other dust or dirt.

If you want to soak ahead, place the beans in a big bowl and cover with about 3-4 times the amount of water. The beans will expand and I have certainly made the mistake of soaking them in a too-small bowl. Don’t do that as the beans that float to the top will not absorb as much water as those below resulting in inconsistent cooking. Just keep the beans covered with a nice water blanket. Let the beans rest at least 6 hours up to about 36 hours. If you do in extended soaking (usually this only happens if I change our dinner plans at the last minute) change the water once or twice.

The quick soak method, is to place them in a pot, cover with 3-4 times the amount of water. Bring up to a boil, reduce to a simmer for 2 minutes (set a timer or stare at it while enjoying a nice steamy facial) and then turn off the heat and walk away for about 1-4 hours.
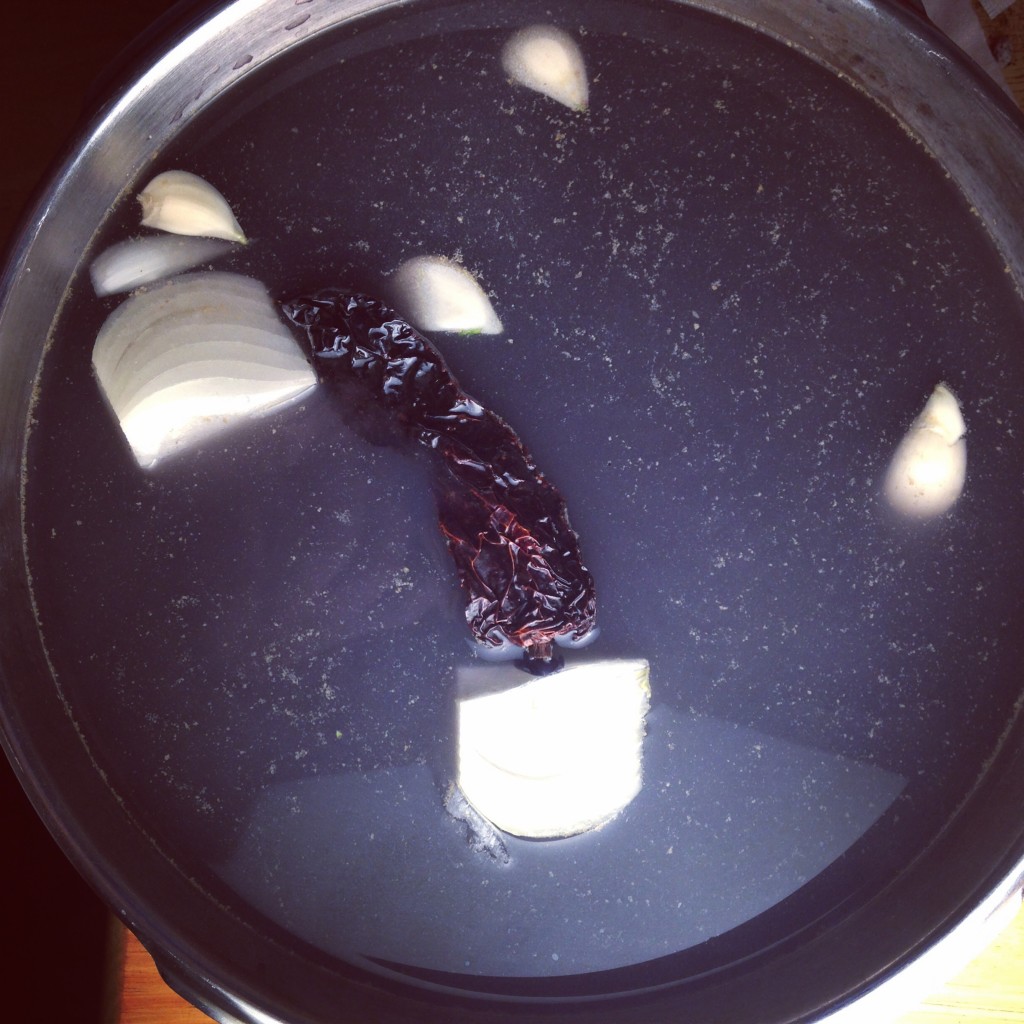
photo 2

Beans ready to cook with the aromatics: onions, garlic + dried pepper.


Once you are ready to cook them, you can strain the soaking liquid. Add the 4-6 cups of fresh water and be sure the beans are full submerged, toss in all of the aromatics of your choice, but NOT the salt. Now cook them:

The standard way to Pressure Cook Beans: Cover and bring the beans, water & aromatics up to full pressure. Reduce the pressure to low and let them go about 8-10 minutes. Reduce the pressure quickly by running cold water over the pressure cooker in the sink until the pressure is fully released. Open. Taste. If they are not done, return to pressure and repeat until they are tender. After that, I will check them every 5-10 minutes. If you have a nifty pressure cooker with a ‘bean’ setting do that or refer to your pressure cooker’s directions. I would always recommend starting with the least amount of cooking first, especially if you soaked your beans.

My absolute favorite way to Pressure Cook Beans: I have a second, more lazy way that I make pressure cooked beans that works well for me as a mom since my children often distract me halfway through my attempts to cook anything. Cover the beans with water, aromatics, but not the salt. Bring it up to pressure for about 2 minutes. Turn off the heat. Walk away (play with your children, defuse a drama, do some dishes). The pressure is coming down ‘naturally’ and during that process the beans continue to happily and gently cook. When the pressure is down and you can remove the lid, check them. If you need to cook them a bit longer, you can try the above method with the quick release or if you have more time, let them gently simmer with the lid off while you wait for dinner to start.

Stove Top: Bring the beans, water & aromatics up to a boil. Reduce to a simmer and cover with a lid. Stir occasionally and check on them every 10-30 minutes. Once they start to appear soft, test them by pressing between your fingers or biting into one. Keep cooking until they taste perfect. This usually takes about 1-4 hours or if you are at a high altitude it can be longer and you will want to increase the heat slightly.

Slow cooker: Toss the beans, water, and aromatics together. Cover with a lid and turn on low for 8-10 hours or on high for 4-6 hours. You will want to check them periodically if possible. Stirring isn’t necessary, but you can do it when you check on the beans.

To serve your beans: First, stir the salt into the cooked beans with the soaking liquid. Taste and add more salt until the beans are your preferred flavor. If desired, you can remove the aromatics and add a few of your favorite spices such as ground chili, smoked paprika, ground coriander, Mexican oregano, and ground cumin. A squirt of lime will take them a long way as well. Once seasoned, strain any excess liquid or scoop the beans out with a slotted spoon.

How do you make your beans? Ready to dump the cans and make them from scratch?

blackbeancollage2